
Onboard a Driver in TruckTA
Follow the TruckTA video to prepare an applicant packet, check company-approved terms, and preview the documents. Then see how submission, review, signing, and the Driver record fit together.
By TruckTA Team · Product guidance
Reviewed by TruckTA ·
This tutorial uses an AI-generated voice. The video and article explain the same reviewed TruckTA workflow.
Put the workflow to work
Solve the task with TruckTA
In this article
You need to collect a driver's information and documents, but preparing a packet isn't the same as completing the Driver record. In TruckTA, packet preparation, driver submission, company review, and the final records are separate parts of the workflow. This guide follows the video “Onboard a driver in TruckTA” so you can see what to do at each stage.
The walkthrough uses fictional sample data, and the filmed draft stays unsent. Sending, recipient submission, approval and signing, transfer to a Driver profile, and generation of the final PDF are explained next steps, not actions completed in the demonstration.
Start a packet from Driver Onboarding
From the Dashboard, open Compliance Center in the sidebar, then select Onboarding. That takes you to the Driver Onboarding list. Select New packet to begin preparing the digital onboarding packet.
The preparation process has three steps: Driver, Terms, and Preview & Send. Work through them in that order. You'll first identify the recipient, then review the packet's company-approved wording and terms, and finally inspect the generated documents before deciding whether they're ready to send.
Choose the recipient and check their details
If the person already has a Driver profile, choose Select existing driver. Search first to avoid creating another applicant packet for the same person. This is the point to establish whether you're preparing a packet for someone already in your Driver records or starting with a new applicant.
For a new applicant, choose Create new driver. Despite the button's wording, this starts an applicant packet. It does not create the final Driver profile yet. Keep that distinction clear as you follow the demonstration: starting the packet is the beginning of the process, not the final record step.
Enter the applicant's first and last name, then check the email address and phone number before proceeding. Choose a language, or let the driver choose. Select the classification your company has approved. For a contractor, also confirm who provides the truck and trailer. Once those details are ready, select Continue to move to Terms.
Review your company-approved terms
In Terms, confirm the agreement template and packet wording. TruckTA starts from your company defaults, so review what those defaults put into this particular driver's packet rather than treating the screen as something to click past.

Check the pay percentage, settlement day, governing law state, and any applicable cap or additional deduction notes. These values become part of the driver's packet. Use your company's reviewed terms; the values shown in the video are examples, not recommendations for your business. This walkthrough explains where to review the information, not which terms your company should adopt.
If the packet needs different company contact information for this driver, open Customize company contact for this driver. Review that information along with the wording and terms. When the details are ready, select Create Packet & Preview. That moves you into document review; in the filmed example, the packet still remains unsent.
Preview the documents before sending
Review the generated document list and open the documents you need to check. Pay attention to the distinction between the wording you're reviewing and information the driver hasn't supplied yet. Unanswered driver sections use sample data in the preview. What you're viewing is not a completed or signed packet.
Where editing is available, the edit link opens the settings for that document. After an approved change, return to the packet and select Refresh preview. This is the route shown for reviewing a document again after changing its settings.
If you need to change this packet's terms instead, select Back to Terms. Make the change using your company's reviewed terms, then select Apply Changes and Preview. Use the refreshed preview to inspect the packet rather than relying on the version you opened before the change.
Before sending, a person must confirm that the documents and terms are ready. Creating a preview doesn't replace that review. The demonstration stops short of delivery, but it explains the two delivery options for when your packet is ready:
- Send Packet delivers the invitation when an email address is present.
- Create Secure Link supports your approved delivery process when no email address is supplied.
Neither delivery option is completed in the filmed draft. Treat them as the next step after your team has confirmed the packet is ready, not as something that happened when the preview was generated.
Understand the driver's steps through the staff preview
To inspect the driver-facing sections, return to Onboarding, open its Settings, and select Full Packet Preview. This is a staff preview. It lets your team review the sections the driver will work through; opening it is not the same as the recipient opening an invitation or submitting answers.

Full Packet Preview shows the instructions, required information, consents, optional uploads, agreement, and final review sections. Use it to understand the driver's side of the packet alongside the generated documents you checked earlier.
The actual recipient process happens afterward: the driver opens the secure invitation link, completes the required information and acknowledgements, and submits the packet. Submission does not create or update a Driver profile. Your company still reviews the answers and evidence before approval. A submitted packet and an approved packet are different stages of the workflow.
Review the packet and finish the records
Return to Driver Onboarding and select Review for the packet. Check its status, missing items, saved answers, uploads, and signature evidence. The video shows a draft here, so the answers and approval are not complete. Don't read the demonstrated review screen as evidence that a driver has finished the process.
For a submitted packet that needs changes, write a clear Note for the driver and choose Request corrections. Make the note specific about what needs attention so the driver understands what your company is asking them to correct.
When your company has completed its review, an authorized reviewer can select Approve and sign. Applying the reviewed packet to a Driver profile is a separate action. Complete that step after approval and signing, then generate the final PDF. Those finishing steps are explained in the walkthrough, not completed on the sample draft.
To use this workflow, open TruckTA’s Onboarding list and select New packet. Start with your company’s approved templates. Prepare and inspect the packet first, then keep submission, company review, signing, and the Driver-record step separate as you move toward the final documents.
Read the video transcript
This walkthrough uses fictional sample data. Bring your driver's onboarding information and documents into one packet. In this video, you'll prepare a digital packet, review its documents, and see how the driver's submission, company review, and final records fit together in TruckTA. From the Dashboard, open Compliance Center in the sidebar, then select Onboarding. This is your Driver Onboarding list. Select New packet to begin. The process has three steps: Driver, Terms, and Preview and Send. Choose Select existing driver when the person already has a Driver profile. Search first to avoid creating another applicant packet for the same person. For a new applicant, choose Create new driver. This starts an applicant packet; it does not create the final Driver profile yet. Start with the applicant's first and last name. Next, check the email address and phone number before you proceed. Choose a language, or let the driver choose. Select the classification your company has approved. For a contractor, also confirm who provides the truck and trailer, then select Continue. In Terms, confirm the agreement template and packet wording. TruckTA starts from your company defaults. Check the pay percentage, settlement day, governing law state, and any applicable cap or additional deduction notes. These values become part of this driver's packet, so use your company's reviewed terms. This sample draft stays unsent. The values here are examples, not suggested terms for your business. If this driver needs different contact information, open Customize company contact for this driver. When the details are ready, select Create Packet and Preview. Review the generated document list and open the documents you need to check. Unanswered driver sections use sample data; this is not a completed or signed packet. Where editing is available, the edit link opens the settings for that document. After an approved change, return and use Refresh preview. To change this packet's terms, select Back to Terms, then Apply Changes and Preview. Before sending, a person must confirm that the documents and terms are ready. Send Packet delivers the invitation when an email is present; Create Secure Link supports your approved delivery process when no email is supplied. To review the driver-facing sections, return to Onboarding, open its Settings, then select Full Packet Preview. This is the staff preview. It shows the instructions, required information, consents, optional uploads, agreement, and final review sections the driver will work through. The driver opens the secure invitation link, completes the required information and acknowledgements, and submits the packet. Submission does not create or update a Driver profile. Your company still reviews the answers and evidence before approval. Return to Driver Onboarding and select Review for the packet. Check its status, missing items, saved answers, uploads, and signature evidence. We are showing a draft here, so the answers and approval are not complete. If a submitted packet requires changes, write a clear Note for the driver and choose Request corrections. When your company has completed its review, an authorized reviewer can Approve and sign. Applying the reviewed packet to a Driver profile is a separate action. Complete that step after approval and signing, then generate the final PDF. That's the digital onboarding workflow in TruckTA: prepare, preview, send, review, then finish the Driver record and documents. Start with your company's approved templates, and keep each review step clear before moving on.
Put it into practice
Keep your operation moving with TruckTA.
More ways to use TruckTA
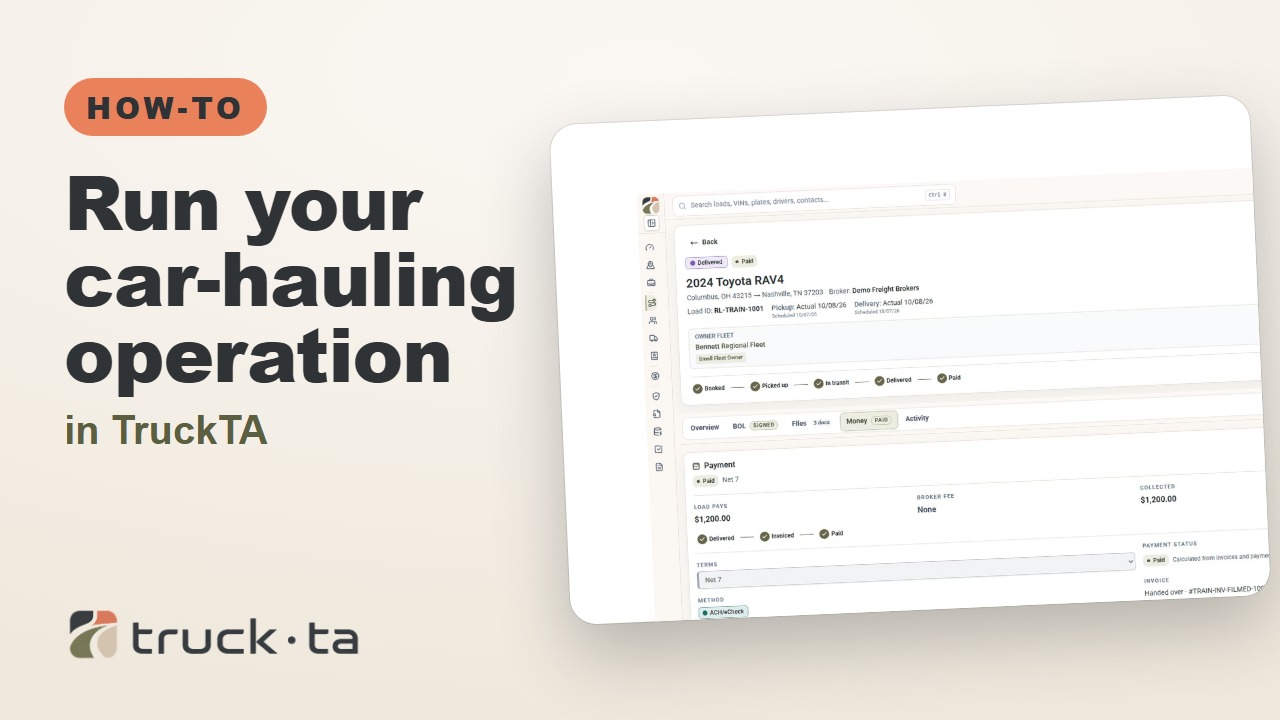
Run Your Car-Hauling Operation in TruckTA
Follow a job through preparation, dispatch, driver work, financial close, and owner-operator access, with a practice checkpoint for each part of the six-part TruckTA course.
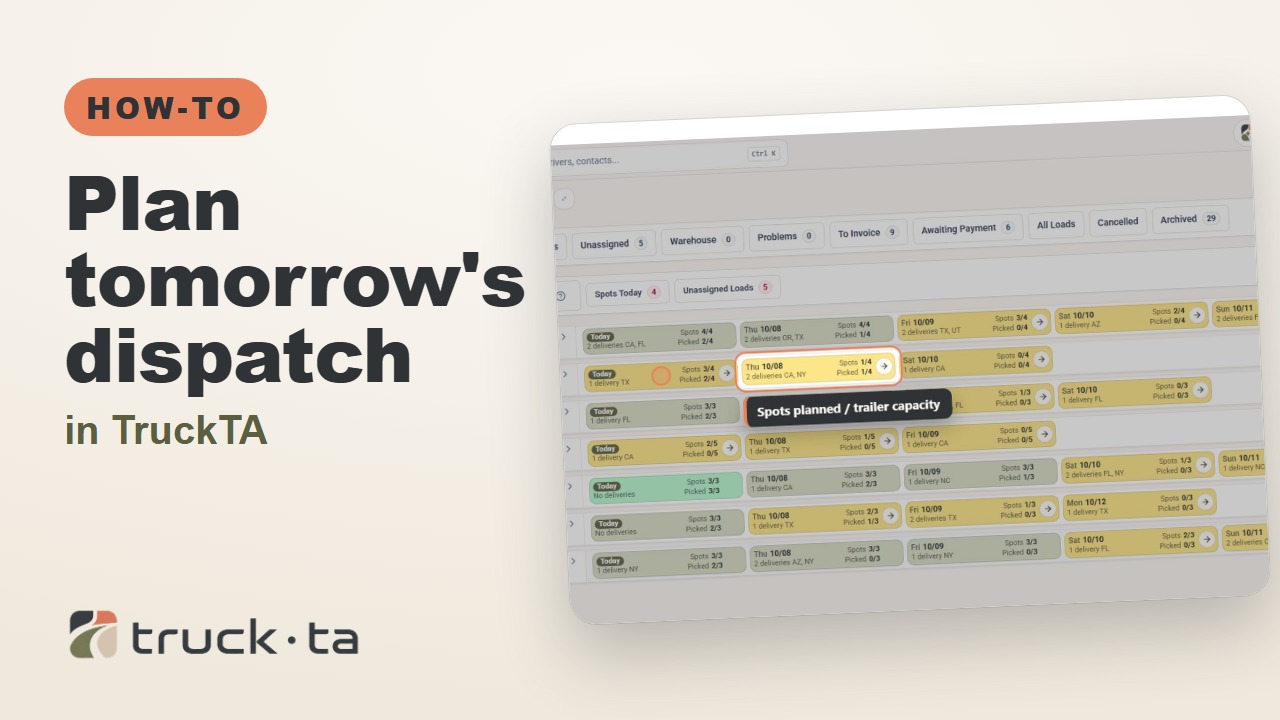
Plan Tomorrow's Dispatch in TruckTA
Review planned work, tomorrow’s open trailer spots, unassigned loads, and driver availability in TruckTA before assigning the next load.
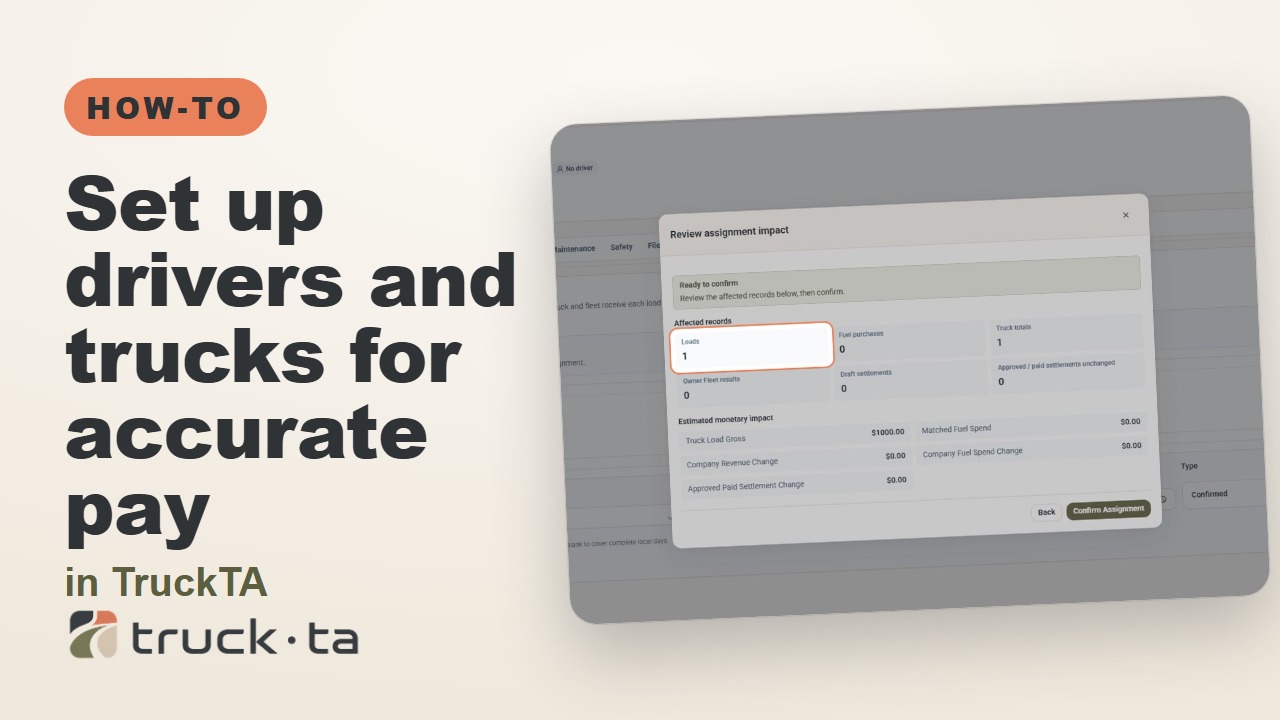
Set Up Drivers and Trucks for Accurate Pay in TruckTA
When driver pay or truck totals look wrong, check the records behind the delivery date. Follow the video’s workflow for load details, dated compensation, truck assignments, owner fleets, and saved settlements.