
Create and Dispatch Your First Load in TruckTA
Follow the TruckTA video to enter your first load, add payment and route details, attach paperwork, and release the work to your driver with Send to driver.
By TruckTA Team · Product guidance
Reviewed by TruckTA ·
This tutorial uses an AI-generated voice. The video and article explain the same reviewed TruckTA workflow.
Put the workflow to work
Solve the task with TruckTA
In this article
Your driver and truck are already in TruckTA. Now you need to create the load and get it to the driver. That means entering the vehicle, dates, payment, and route, then releasing the work when it’s ready. Choosing a driver is part of planning the load; it isn’t the final dispatch action.
This guide follows the video “Create and dispatch your first load in TruckTA” in the same order. Work through it alongside the video, starting at the Dashboard and ending with the dispatched load on your driver’s row.
1. Open Loads from the sidebar
From the Dashboard, open Loads from the sidebar. You’ll see the Dispatch Board, which shows every driver with their truck and trailer. A card appears for each day a driver has deliveries.
That delivery-day layout is worth keeping in mind as you follow along. At the end of this workflow, you’ll return here to find the new load on the assigned driver’s row, on its delivery day.
To start entering the job, select Add load. This is the entry point for the load you’re about to build. The video takes you through the load information first, followed by payment and assignment, route details, notes, and paperwork. Start with the vehicle rather than jumping ahead to sending the work.
2. Enter the vehicle, Load ID, and dates
In the load form, go to Load Info. Type the vehicle, then enter its year, make, and model. Follow that with the Load ID or Order ID.
The Load ID or Order ID is required to create the load. Don’t skip it while filling in the vehicle details. The video calls this out as a required part of the entry, not something to leave until after the load has been created.
Next, set the pickup and delivery dates. These dates also matter later in the workflow: TruckTA uses the pickup date when filling in the truck from the driver’s equipment assignment, and the dispatched load appears on the Dispatch Board on its delivery day.
At this point, you’ve entered what’s moving, the load’s identifier, and its pickup and delivery dates. Continue to payment and the people assigned to the work.
3. Add the pay and choose the driver
Under Status and Payment, enter what the load pays. Then choose the payment terms and how you’ll be paid. Every load needs payment terms, so entering the amount alone doesn’t complete this part of the form.

Keep those entries separate as you work: the load’s pay is the amount, the payment terms are another selection, and how you’ll be paid is another. Follow the video’s order through all of them before moving on to the assignment.
Now choose your driver. TruckTA fills in the truck from that driver’s equipment assignment on the pickup date. The date you entered under Load Info is therefore the date used for this equipment assignment. Choose a dispatcher too.
Assigning a driver only plans the work. You haven’t released the load by selecting a name here. The release happens later, when you select Send to driver. For now, continue building the route and the information that goes with the load.
4. Add the route with Paste and Parse
Under Route, select Paste and Parse next to Pickup. Paste the pickup details from your dispatch sheet, then select Parse with AI.
TruckTA splits the pasted details into company, address, contact, and phone fields. Rather than treating the pasted text as one finished entry, review the individual fields that the parser fills.
Do the same for the delivery details: use Paste and Parse, paste the delivery information, and select Parse with AI. Then check each field before you save. The video includes this check for both ends of the route, so don’t stop after reviewing only the pickup.
A straightforward way to follow that instruction is to read the company, address, contact, and phone fields against the dispatch sheet you pasted from. Work through the pickup details, then the delivery details. Parsing fills the fields; checking what went into them is still part of this workflow.
5. Add driver notes, the broker, and paperwork
In the load form, add driver notes through Pickup info, Delivery info, and General notes. These are shown to the assigned driver in the app. Put gate codes and contact tips here so they’re in the driver-facing information.

Team notes on the load page stay staff only. That distinction determines where your note belongs: information the driver needs goes in the driver-visible fields, while staff-only notes belong in Team notes. Don’t put a gate code only in Team notes and expect the driver to see it there.
Next, add the broker and attach your documents, such as the rate confirmation or other paperwork. Files upload once the load is created. Keep that timing in mind while following the attachment step: the upload happens with load creation.
When you’re ready, select Create Load. Your new load opens, and you can move from entering the job to confirming it’s ready and releasing it.
6. Mark Ready and send to driver
On the newly opened load, the status is New. While it’s New, TruckTA reminds you to call the pickup location and confirm the vehicle is ready. When everything checks out, select Mark Ready.
Now release the work: select Send to driver. Assigning a driver only plans the work; Send to driver releases it. The load is now Dispatched.
If your driver uses the TruckTA Driver App, they get a notification and see the load as Ready to pick up. The notification described in this workflow depends on the driver using the app.
Open Loads from the sidebar again. On the Dispatch Board, find your driver’s row and look on the load’s delivery day. Your first load is there, dispatched.
Use this sequence in TruckTA to organize your first dispatch: enter the job, check its details, confirm pickup readiness, and release it with Send to driver. Start from Loads → Add load and follow along with the video.
Read the video transcript
Your driver and truck are ready. Now give them work. In this video, you'll create your first load, add its route and payment, and send it to your driver in the TruckTA Driver App. From the Dashboard, open Loads from the sidebar. The Dispatch Board shows every driver with their truck and trailer, and a card for each day they have deliveries. To create a load, select Add load. Under Load Info, type the vehicle, then its year, make, and model. Add the Load ID or Order ID. It's required to create the load. Then set the pickup and delivery dates. Under Status and Payment, enter what the load pays. Then choose the payment terms, which every load needs, and how you'll be paid. Now choose your driver. TruckTA fills in the truck from the driver's equipment assignment on the pickup date. Choose a dispatcher too. Under Route, select Paste and Parse next to Pickup. Paste the pickup details from your dispatch sheet, and select Parse with AI. TruckTA splits them into company, address, contact, and phone fields. Do the same for the delivery, and check each field before you save. Pickup info, delivery info, and general notes are shown to the assigned driver in the app, so put gate codes and contact tips here. Team notes on the load page stay staff only. Add the broker, and attach the rate confirmation or other paperwork. Files upload once the load is created. When you're ready, select Create Load. Your new load opens. While it's New, TruckTA reminds you to call the pickup location and confirm the vehicle is ready. When everything checks out, select Mark Ready. Assigning a driver only plans the work. To release it, select Send to driver. The load is now Dispatched. If your driver uses the TruckTA Driver App, they get a notification and see the load as Ready to pick up. Open Loads from the sidebar again, and the load is on your driver's row, on its delivery day. That's your first load, dispatched. Next, follow it from pickup to delivery and get paid. Start free at truckta dot com.
Put it into practice
Keep your operation moving with TruckTA.
More ways to use TruckTA
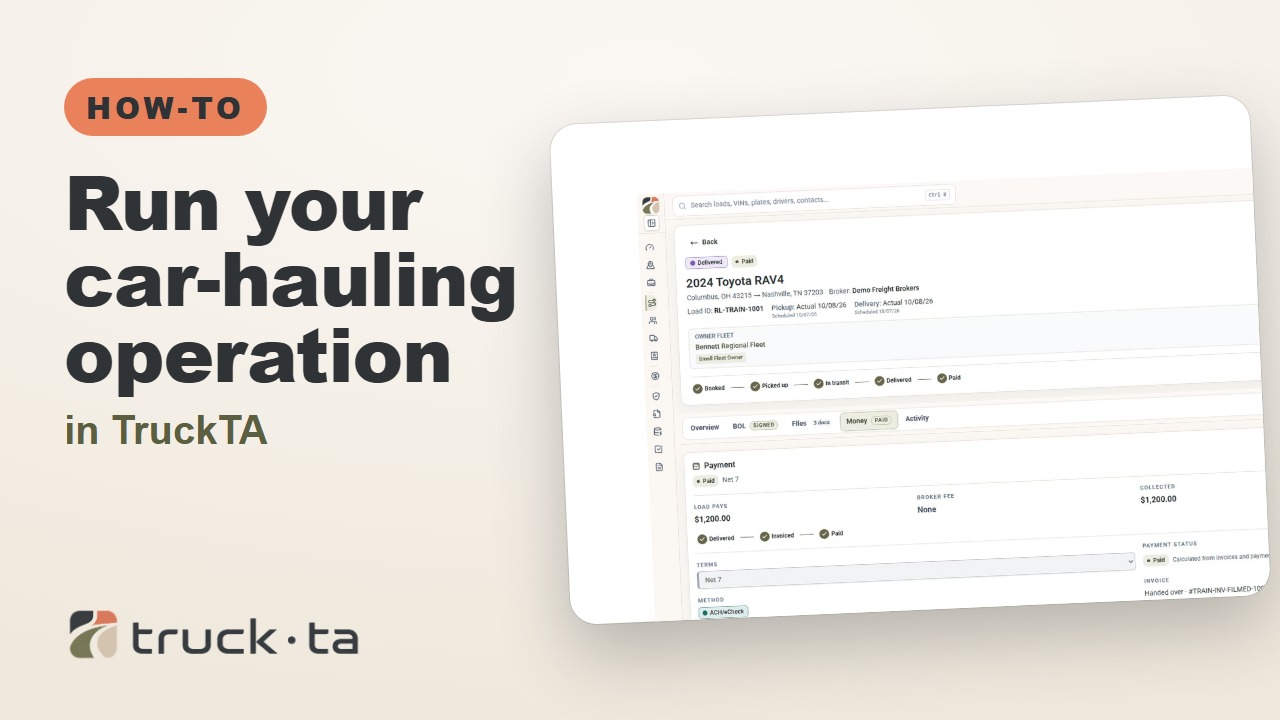
Run Your Car-Hauling Operation in TruckTA
Follow a job through preparation, dispatch, driver work, financial close, and owner-operator access, with a practice checkpoint for each part of the six-part TruckTA course.
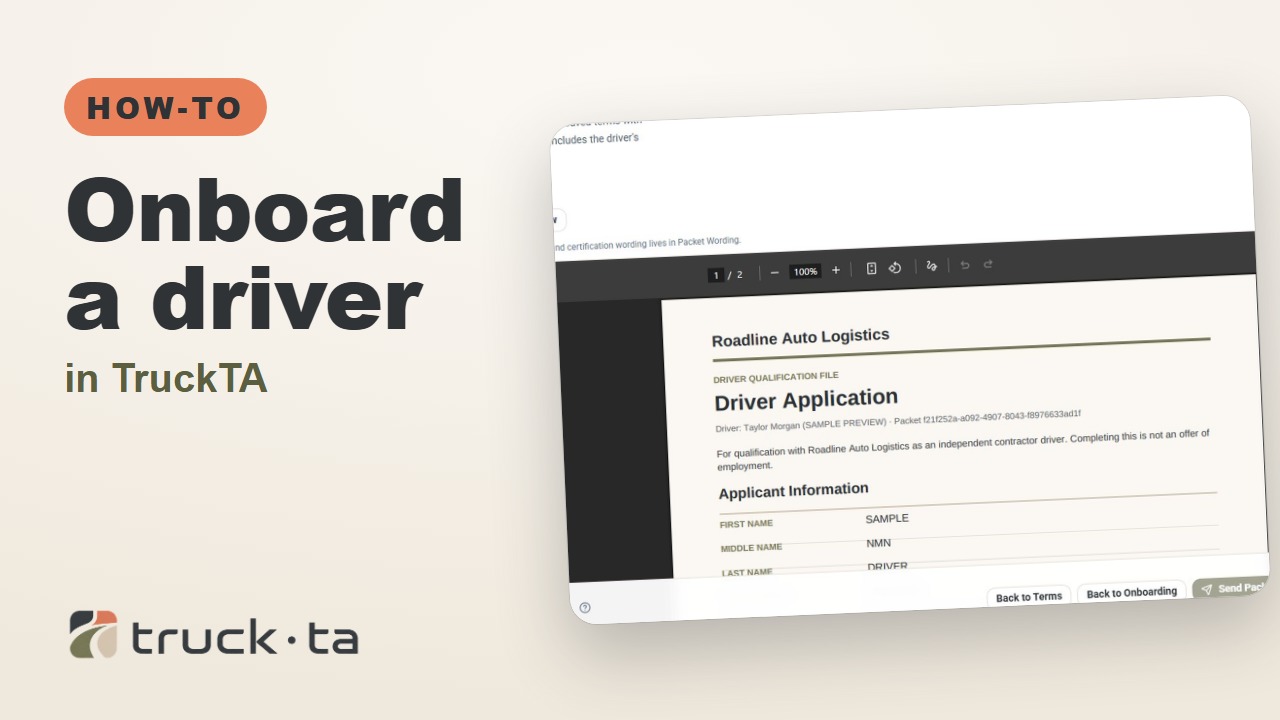
Onboard a Driver in TruckTA
Follow the TruckTA video to prepare an applicant packet, check company-approved terms, and preview the documents. Then see how submission, review, signing, and the Driver record fit together.
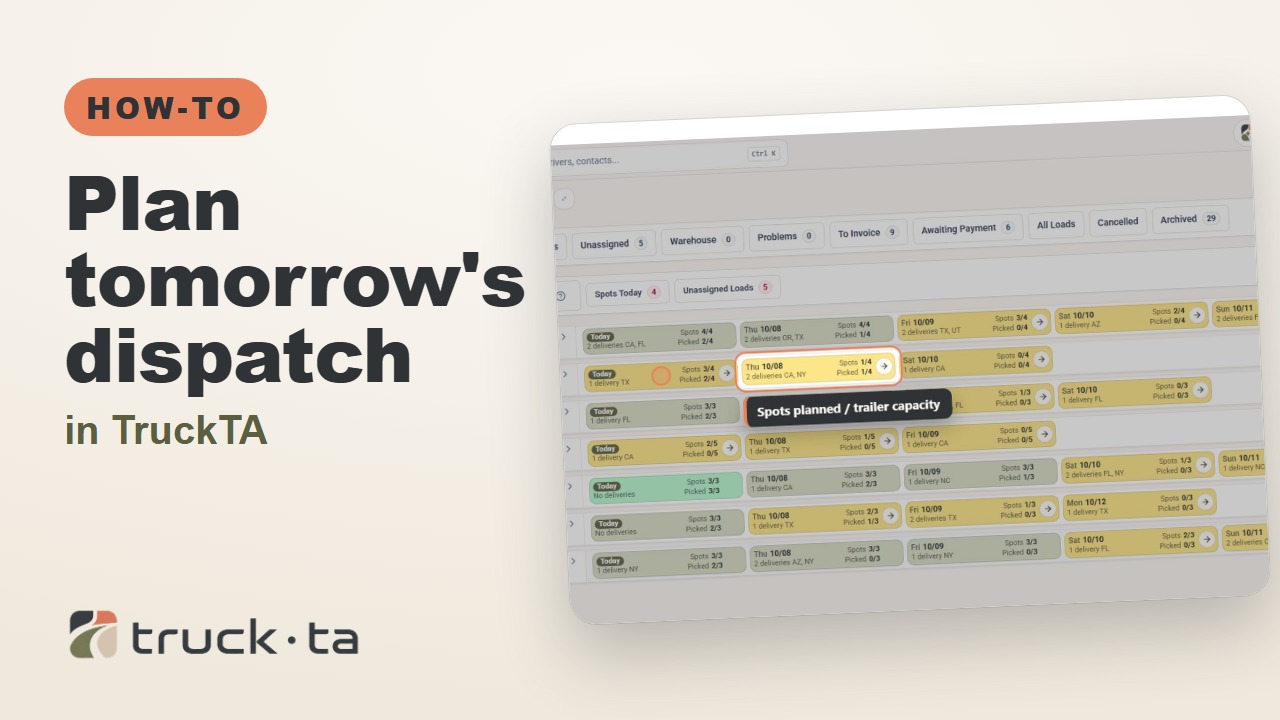
Plan Tomorrow's Dispatch in TruckTA
Review planned work, tomorrow’s open trailer spots, unassigned loads, and driver availability in TruckTA before assigning the next load.