
Add Your Trucks and Trailers in TruckTA
Add your equipment, enter registration and inspection expiration dates, attach documents, and assign a truck to your driver. Follow the same workflow shown in the TruckTA video.
By TruckTA Team · Product guidance
Reviewed by TruckTA ·
This tutorial uses an AI-generated voice. The video and article explain the same reviewed TruckTA workflow.
Put the workflow to work
Solve the task with TruckTA
In this article
Your driver needs a truck, and your car-hauling setup needs a trailer. Before moving on to your first load, get both into TruckTA with their details, expiration dates, and documents. This guide follows the video “Add your trucks and trailers in TruckTA,” from opening Equipment to reviewing a driver assignment and saving your trailer.
1. Open Equipment from the sidebar
From the Dashboard, open Equipment from the sidebar. This is where you’ll find your truck and trailer records. Trucks and trailers each have their own tab, so you can view the equipment type you’re working with.
Each row shows the current driver, VIN and plate, and the registration and state inspection expiration dates. That gives you a place to check who’s in a unit and see its identifying details alongside those dates. Anything expired is flagged in red.
Start with the truck. On the Equipment page, select Add equipment to open the form. You can use a registration to fill in vehicle details or enter them by hand. Both routes begin from this control.
2. Add a truck from a registration or by hand
If you have the truck’s registration handy, select Analyze registration and upload it. TruckTA reads the year, make, model, VIN, plate, and expiration date from the registration. You review every value before it fills the form.
Treat that review as part of entering the truck, not something to skip past. Look through the values TruckTA read from the registration before letting them fill the form. The workflow gives you that review point before the extracted details become form entries.
If you’re entering the truck manually, type the details into the form instead. The unit number is the only required field. Keep the type set to Truck, then add the year, make, and model. Next, enter the VIN, license plate, and plate state.
The manual route doesn’t depend on uploading a registration first. Use it when you’re typing the vehicle details yourself; use Analyze registration when you want TruckTA to read the listed values from the document. Either way, you’re building the truck’s equipment record before moving down to its expiration dates and attachments.
3. Enter expiration dates and attach documents
In the truck form, go to Registration and Compliance. Enter the expiration dates for registration, annual state inspection, and annual federal inspection. These are separate date entries, so work through each one rather than treating the registration expiration as the only date to enter.
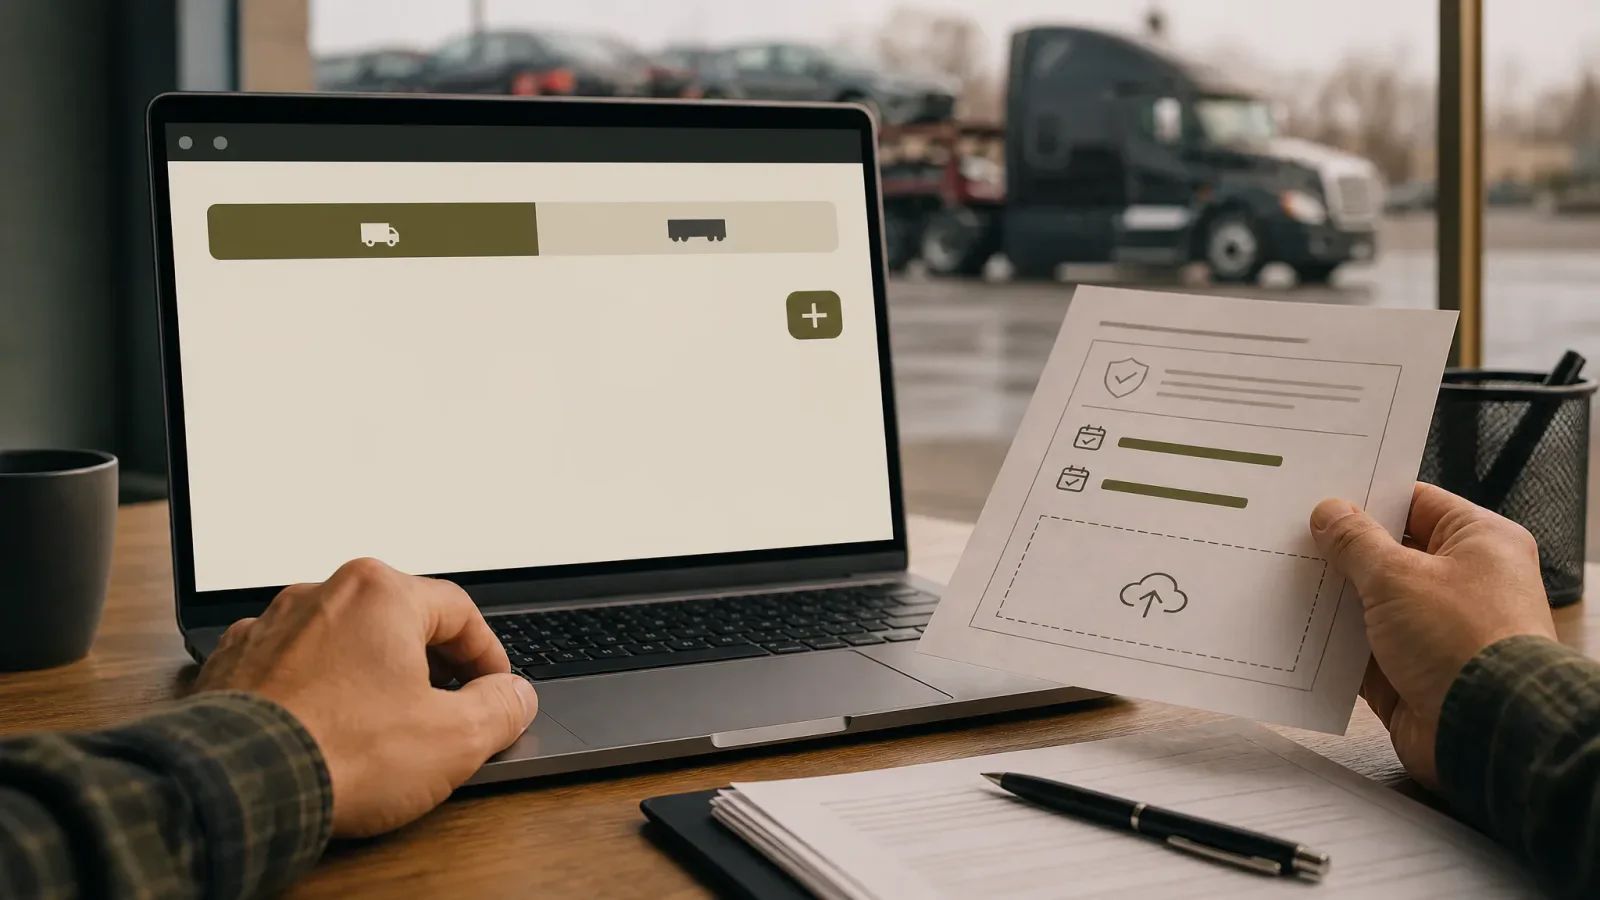
TruckTA tracks each date and shows when one is expiring soon or has expired. This is the date-tracking part of the setup: enter the dates here, then use the displayed expiration status to see which ones need your attention.
For equipment documents, use the attachment area on the right. Attach the registration, both inspections, insurance, a lease agreement, and a photo of the truck. You choose the files while you’re filling out the form, but they upload when you save. Selecting the files and saving the equipment are distinct parts of this workflow.
Value, bank, and monthly payment details are optional. Only people with access to sensitive equipment details can see them. If you’re entering those details, do so before saving; if not, they aren’t required to finish adding the truck.
At this point, you’ve worked through the vehicle details, expiration fields, and document selections. The next control finishes the equipment entry and opens the truck’s profile.
4. Save the truck and assign a driver
Select Save equipment. The selected files upload when you save, and the new truck’s profile opens. On that profile, Data Health lists what’s still missing, such as registration and insurance documents. The cards below count expired and expiring documents.

Use those two parts of the profile for different questions. Data Health shows missing information or documents; the cards show counts for documents that are expired or expiring. Saving the truck gets you to this view, where you can see what still needs attention.
To assign a truck to a driver, open the truck’s Assignments tab. Select Add Assignment, choose your driver, and set the start date. Use the date that was true for the assignment. Assignment history decides which truck gets each load and fuel purchase, so the date is more than a note about when you entered the record.
Next, select Review Impact. Before anything is saved, TruckTA shows how many loads, fuel purchases, and settlements the change affects. Read those counts before confirming. This is your opportunity to see the assignment’s impact before the change is saved.
Select Confirm Assignment to finish. Your driver now shows on the truck. Keep the sequence clear: Add Assignment is where you choose the driver and start date, Review Impact shows the affected records, and Confirm Assignment saves the assignment.
5. Add a trailer
Open Equipment from the sidebar again and select Add equipment. This time, set the type to Trailer. You’re using the same equipment workflow, but choosing the trailer type for this record.
Enter the unit number and vehicle capacity, which is how many cars the trailer carries. Then add the year, make, model, VIN, and plate. Once those details are entered, select Save equipment.
To find the saved trailer, open Equipment from the sidebar once more. When the list opens, select the Trailers tab. Your new trailer appears there. It’s ready to assign to a driver from its own Assignments tab, just like the truck.
Use TruckTA to organize your equipment details, track the dates you entered, and review driver assignments before confirming them. With your truck and trailer added, the next step shown in the video is to create your first load and dispatch it to your driver.
Read the video transcript
Your driver needs a truck, and a car hauler needs a trailer. In this video, you'll add both, keep their registration and inspection dates on track, and put your driver in the truck. From the Dashboard, open Equipment from the sidebar. Trucks and trailers each have their own tab, and every row shows the current driver, the VIN and plate, and the registration and state inspection expiration dates. Anything expired is flagged in red, so it never slips past you. To add a truck, select Add equipment. Have the registration handy? Select Analyze registration and upload it. TruckTA reads the year, make, model, VIN, plate, and expiration date, and you review every value before it fills the form. Or type the details in. The unit number is the only required field. Keep the type set to Truck, then add the year, make, and model. Next, add the VIN, the license plate, and the plate state. Under Registration and Compliance, enter the registration, annual state inspection, and annual federal inspection expiration dates. TruckTA tracks each date and shows you when one is expiring soon or has expired. On the right, attach the registration, both inspections, insurance, a lease agreement, and a photo of the truck. You choose the files now, and they upload when you save. Value, bank, and monthly payment details are optional, and only people with access to sensitive equipment details can see them. When you're ready, select Save equipment. The new truck's profile opens. Data Health lists what's still missing, like the registration and insurance documents. The cards below count expired and expiring documents. To put your driver in this truck, open the Assignments tab. Assignment history decides which truck gets each load and fuel purchase, so use the dates that were true. Select Add Assignment, choose your driver, and set the start date. Select Review Impact. Before anything is saved, TruckTA shows how many loads, fuel purchases, and settlements this change affects. Select Confirm Assignment, and your driver now shows on the truck. Trailers work the same way. Open Equipment from the sidebar again, select Add equipment, and set the type to Trailer. Enter the unit number and the vehicle capacity, which is how many cars it carries. Add the year, make, model, VIN, and plate, then select Save equipment. Open Equipment from the sidebar once more. When the list opens, select the Trailers tab. There's your new trailer, ready to assign to a driver from its own Assignments tab, just like the truck. That's your trucks and trailers in TruckTA. Next, create your first load and dispatch it to your driver. Start free at truckta dot com.
Put it into practice
Keep your operation moving with TruckTA.
More ways to use TruckTA
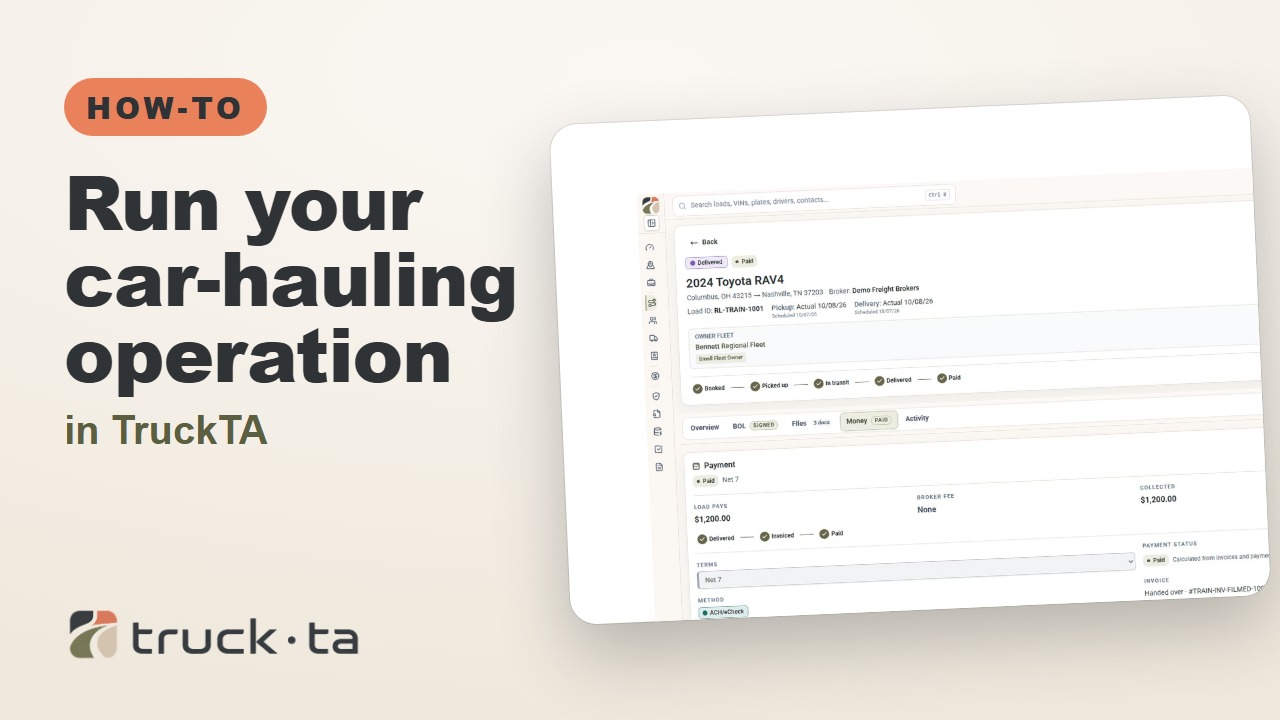
Run Your Car-Hauling Operation in TruckTA
Follow a job through preparation, dispatch, driver work, financial close, and owner-operator access, with a practice checkpoint for each part of the six-part TruckTA course.
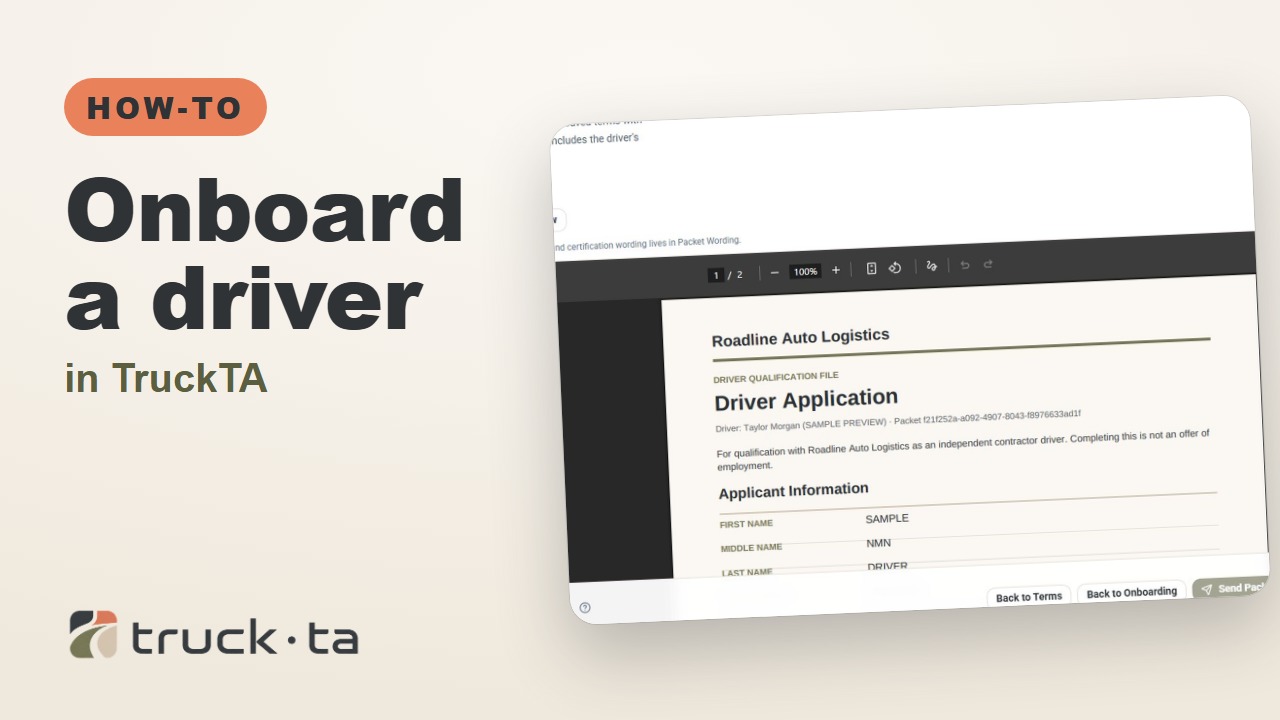
Onboard a Driver in TruckTA
Follow the TruckTA video to prepare an applicant packet, check company-approved terms, and preview the documents. Then see how submission, review, signing, and the Driver record fit together.
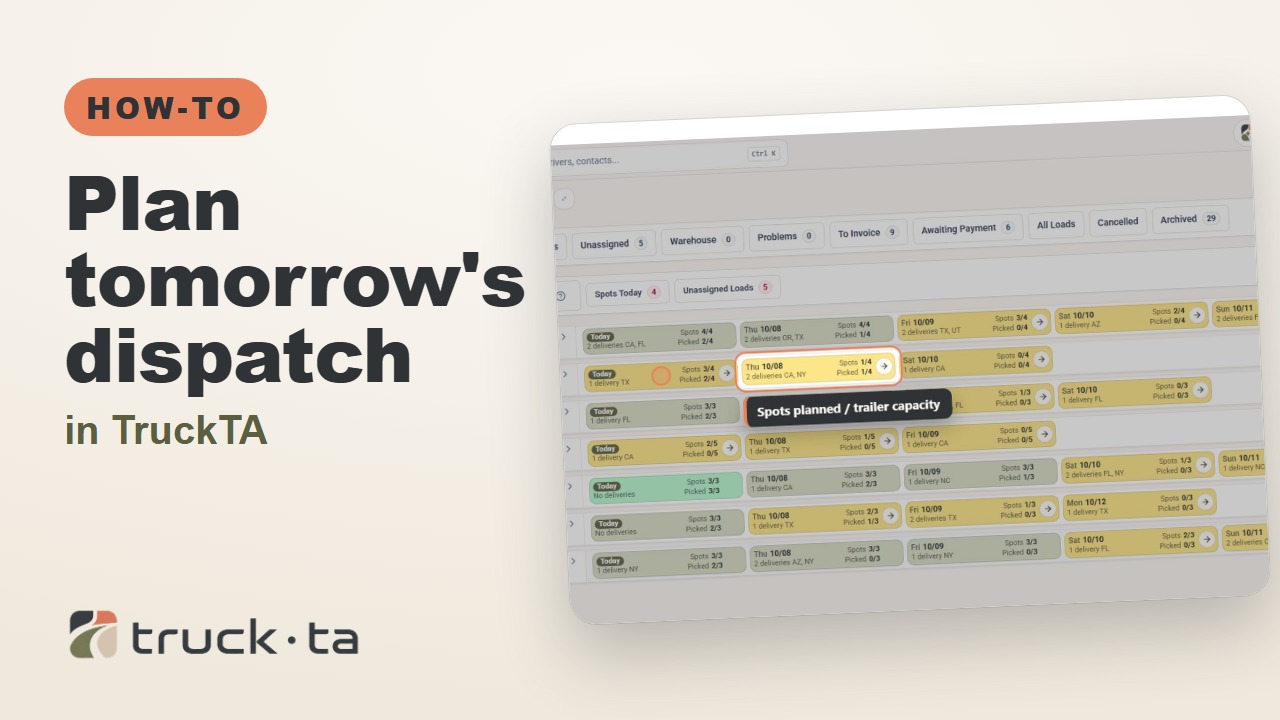
Plan Tomorrow's Dispatch in TruckTA
Review planned work, tomorrow’s open trailer spots, unassigned loads, and driver availability in TruckTA before assigning the next load.