
Add Your First Driver in TruckTA
Add your first driver, enter license details, choose their pay method, review missing documents, and invite them to connect to your company through the TruckTA Driver App.
By TruckTA Team · Product guidance
Reviewed by TruckTA ·
This tutorial uses an AI-generated voice. The video and article explain the same reviewed TruckTA workflow.
Put the workflow to work
Solve the task with TruckTA
In this article
You’ve set up TruckTA. Now you need your first driver in the system and connected to the Driver App. Start with their name, fill in the details you have, and send their invitation after saving the profile. You don’t need every document ready to create the record.
This guide follows the video “Add your first driver in TruckTA,” from opening the Drivers directory to connecting the driver’s app to your company.
1. Open Drivers
Select Drivers from the sidebar. This opens your Drivers directory, where you can see each driver’s status, Driver App access, assigned equipment, and license and medical card expiration dates in one list.
The directory gives you a place to look across your driver records. Status and app access appear alongside equipment and expiration information, rather than requiring you to open each profile just to see those details.
To create your first record, select Add driver. You’ll start with the driver’s basic information, then move through their license details, employment information, and documents before saving.
2. Add basic info or use the license Scan option
Enter the driver’s first name and last name. These are the only required fields, so you can save the driver with just their name and finish the remaining information later.
While you’re here, add their phone number and email. Later, when you send the Driver App invitation, you’ll choose this driver’s record and check their email before sending it. Adding that contact information now puts it into the record you’re building.
If you have the driver’s license handy, select Scan. You can upload a photo of the license or take a photo of it. TruckTA extracts the details from the image for you to review.
Review every field before anything is saved. The scan supplies extracted information; your next step is to check that information against the license. Don’t skip that review just because you used the photo option.
If you don’t have the license available, you can still create the driver record. The first and last name are enough to save it, and you can complete the rest later. For this walkthrough, continue through the remaining sections before selecting Save driver.
3. Enter license details, pay, and status
Under License and Compliance, add the license number, state, and CDL status. Enter the license expiration date and medical card expiration date as well. These are the expiration details shown in the Drivers directory.
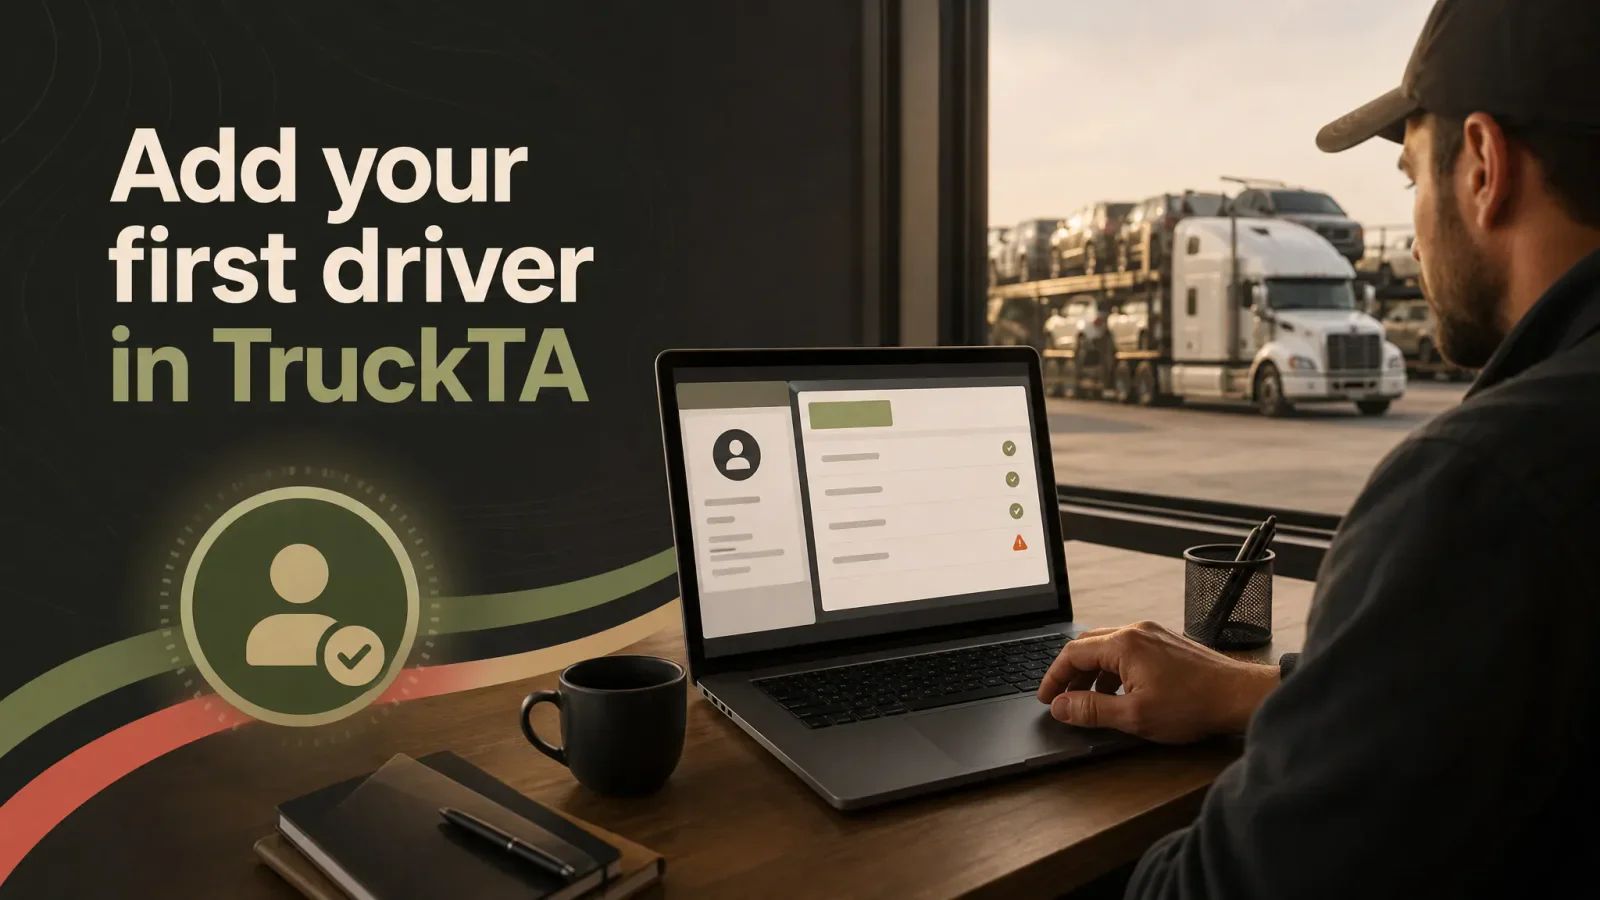
Keep the dates and documents as separate parts of this setup. Here, you’re entering the driver’s license information and expiration dates. You’ll also have an opportunity to upload the license and medical card files before saving, or add those files later.
Next, move to Employment and enter the driver’s date of hire. Choose how this driver is paid. The video shows these options:
- Percentage of each delivered load
- Flat fee per load
- Salary
Select the pay method for this driver. After you save, the profile’s Pay tab will show the compensation you chose and the date it took effect. That’s where you’ll review the saved compensation information in the next part of the walkthrough.
Check the driver’s status, too. New drivers start as Applicant, which keeps them out of your active list. Switch the status to Active once they start driving for you. Creating the record doesn’t automatically place the driver on the active list.
The video also explains how sensitive information is handled: payment details and the driver’s Social Security number are encrypted. Only people with the right permission can see those details.
4. Save and review the driver profile
Before saving, upload any driver documents you have ready. You can add the license, medical card, MVR, and other files here. If you’re still gathering those files, add them later rather than waiting to create the record.
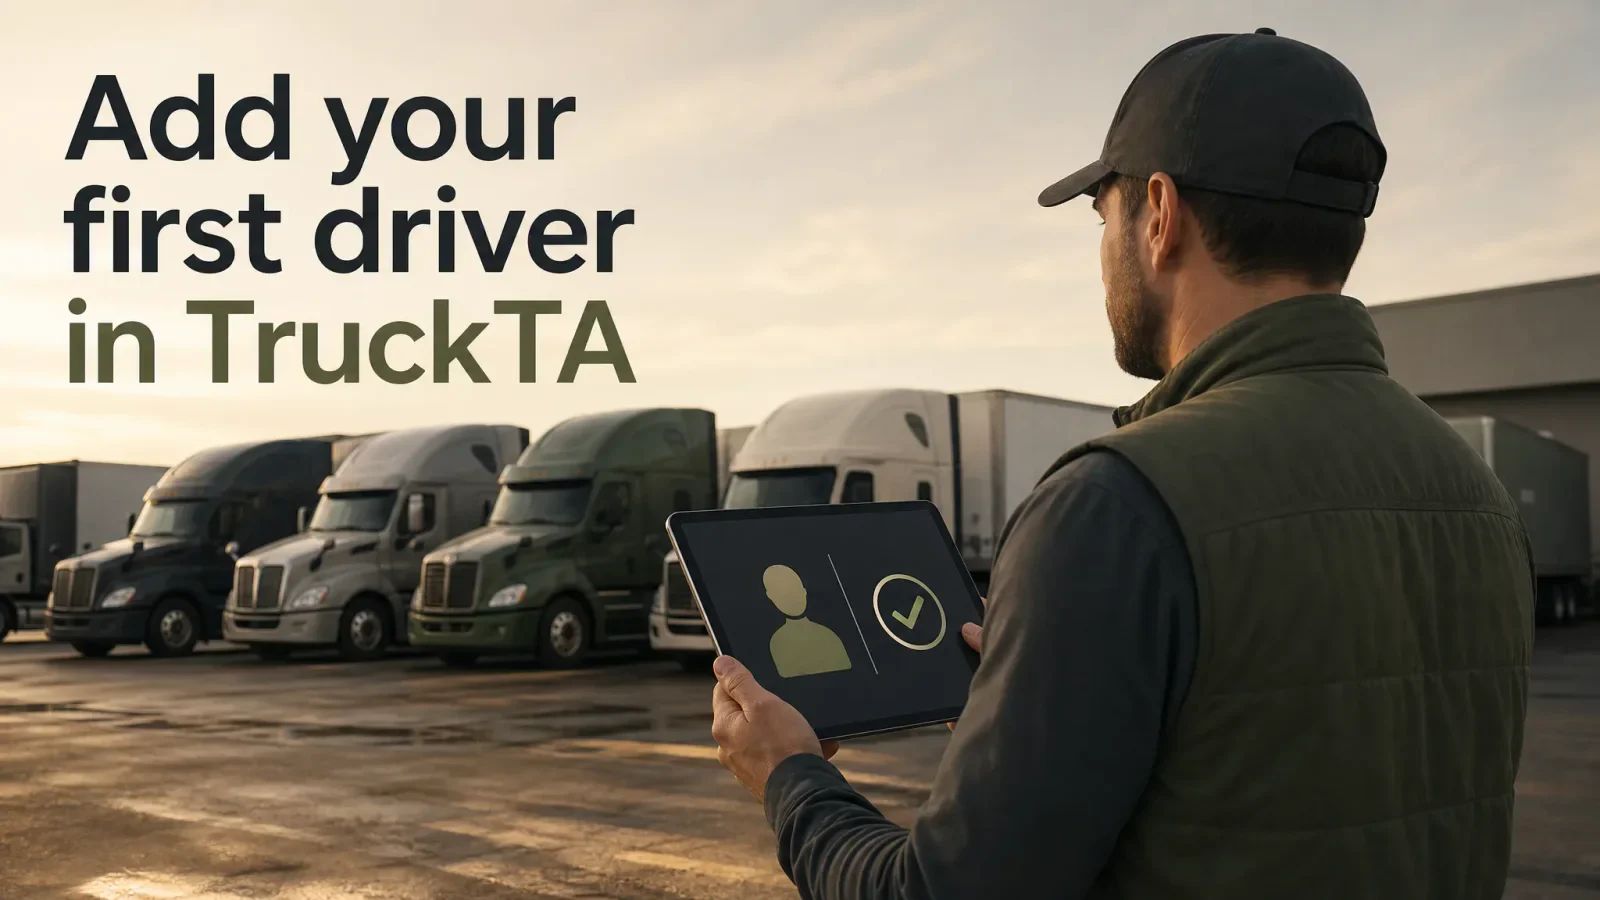
When you’re ready, select Save driver. The new driver profile opens right away, so you can review the record you just created without returning to the directory first.
Look at Data Health to see what’s still missing from the driver’s file. The video gives license and medical card documents as examples. If you saved the driver before uploading those files, this is where you can see the missing items identified.
Every driver profile has the same sections: Overview, Qualifications, Safety, Pay, Files, and Activity. For this first setup, focus on the missing-file information in Data Health and the compensation you just entered.
Open Pay to review the selected compensation and its effective date. You’ve now moved from entering information in the form to checking it in the saved profile. The next part is connecting the driver to your company through the Driver App.
5. Connect the driver to the Driver App
The Driver App connection has three parts: you invite the driver, they install TruckTA from the App Store or Google Play, and they sign in. Saving the profile is the record-creation step; sending the invitation is the next action in this walkthrough.
Share the download link or QR code in your team chat, then select Invite a driver. This gives the driver the download information while you prepare their company invitation.
Choose the driver record you just created. Check their email, then send the invitation. Use the saved record for this step, and review the email before sending.
The driver’s app connects to your company as soon as they accept the invitation. Their part of the process includes installing TruckTA and signing in; your part is selecting their record, checking the email, and sending the invite.
That completes the driver setup shown in the video. Next, add your trucks and trailers as you work toward dispatching your first load.
Haven’t created your account yet? Start free with TruckTA and add your first driver today. Begin with their first and last name, then follow the steps above to finish their profile and send the Driver App invitation.
Read the video transcript
Every load in TruckTA starts with a driver. In this video, you'll add your first driver, set how they're paid, see what's still missing from their file, and connect them to the TruckTA Driver App. Open Drivers from the sidebar. Your directory shows each driver's status, Driver App access, assigned equipment, and license and medical card expirations in one list. To start, select Add driver. Only the first and last name are required, so you can save a driver in seconds and finish the rest later. While you're here, add their phone number and email. Have their license handy? Select Scan, and upload or take a photo of it. TruckTA extracts the details, and you review every field before anything is saved. Under License and Compliance, add the license number, state, and CDL status, along with the license and medical card expiration dates. In Employment, add their date of hire, then choose how this driver is paid: a percentage of each delivered load, a flat fee per load, or a salary. New drivers start as Applicant, which keeps them out of your active list. Switch the status to Active once they start driving for you. Payment details and the driver's Social Security number are encrypted, and only people with the right permission can see them. You can upload the license, medical card, MVR, and other files right here, or add them later. When you're ready, select Save driver. The new profile opens right away. Data Health lists what's still missing from this driver's file, like the license and medical card documents, so nothing slips through the cracks. Every profile is organized the same way: Overview, Qualifications, Safety, Pay, Files, and Activity. On Pay, you'll find the compensation you just chose, with the date it took effect. Now connect your driver to the TruckTA Driver App. It takes three steps: you invite them, they install TruckTA from the App Store or Google Play, and they sign in. Share the download link or the QR code in your team chat, then select Invite a driver. Choose the driver record, check their email, and send the invitation. Their app connects to your company as soon as they accept it. That's your first driver in TruckTA. Next, add your trucks and trailers, and you're ready to dispatch your first load. Start free at truckta dot com.
Put it into practice
Keep your operation moving with TruckTA.
More ways to use TruckTA
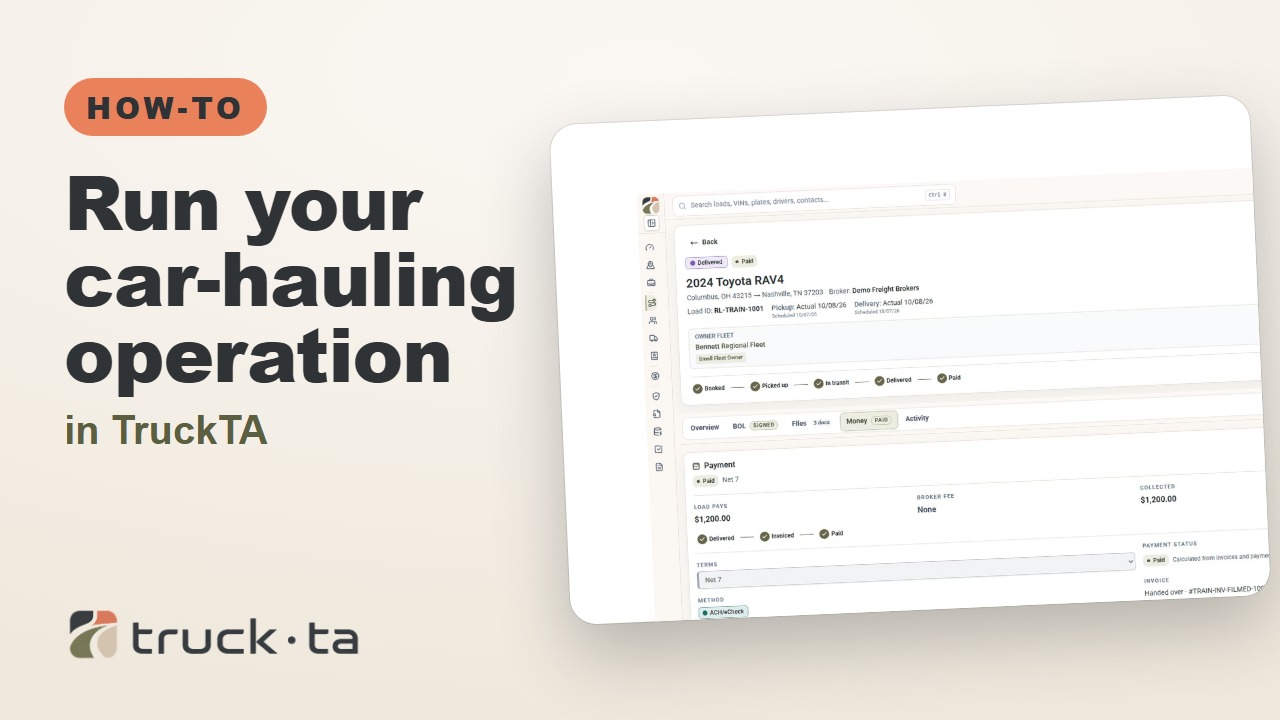
Run Your Car-Hauling Operation in TruckTA
Follow a job through preparation, dispatch, driver work, financial close, and owner-operator access, with a practice checkpoint for each part of the six-part TruckTA course.
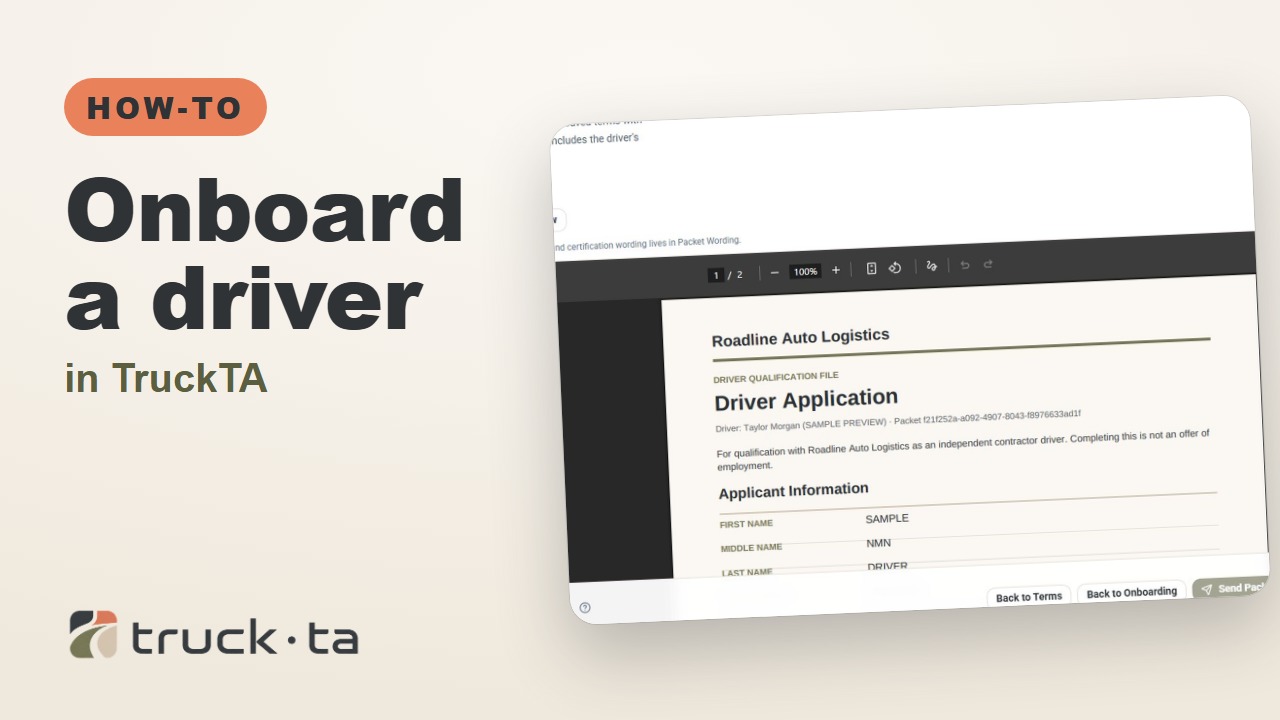
Onboard a Driver in TruckTA
Follow the TruckTA video to prepare an applicant packet, check company-approved terms, and preview the documents. Then see how submission, review, signing, and the Driver record fit together.
Plan Tomorrow's Dispatch in TruckTA
Review planned work, tomorrow’s open trailer spots, unassigned loads, and driver availability in TruckTA before assigning the next load.